|
Breast imaging – Breast ultrasound – Ultrasound-guided interventional procedures – Core needle biopsy of the breast | |
Indications for core needle biopsy according to the BI-RADS category of images (mammography, ultrasound, or MRI) are:
- BI-RADS 5;
- BI-RADS 4;
- BI-RADS 3, only if
- short-interval follow-up is difficult,
- the patient has multiple risk factors for breast cancer,
- the clinical situation is regressing,
- diagnosis of cancer in the other breast is anticipated.
|
Steps
- Ensure that there is plenty of space for the clinicians to work either side of the table and that the lighting is good with adjustable lamps.
- Counsel the patient and explain the procedure. Obtain informed consent.
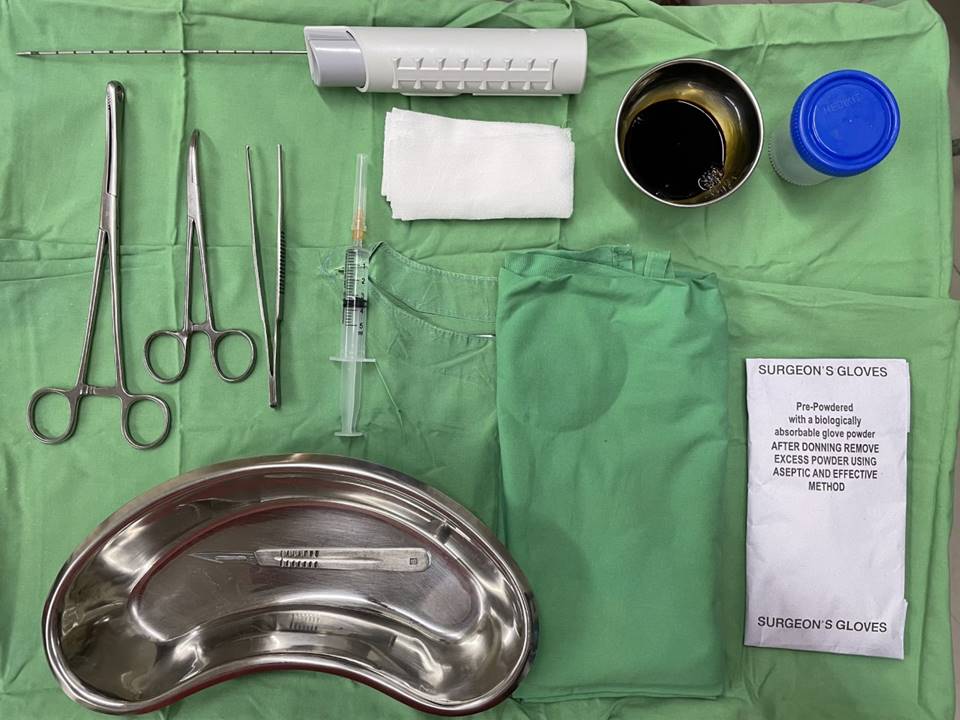
- Ensure the following items are ready before positioning the patient for core biopsy:
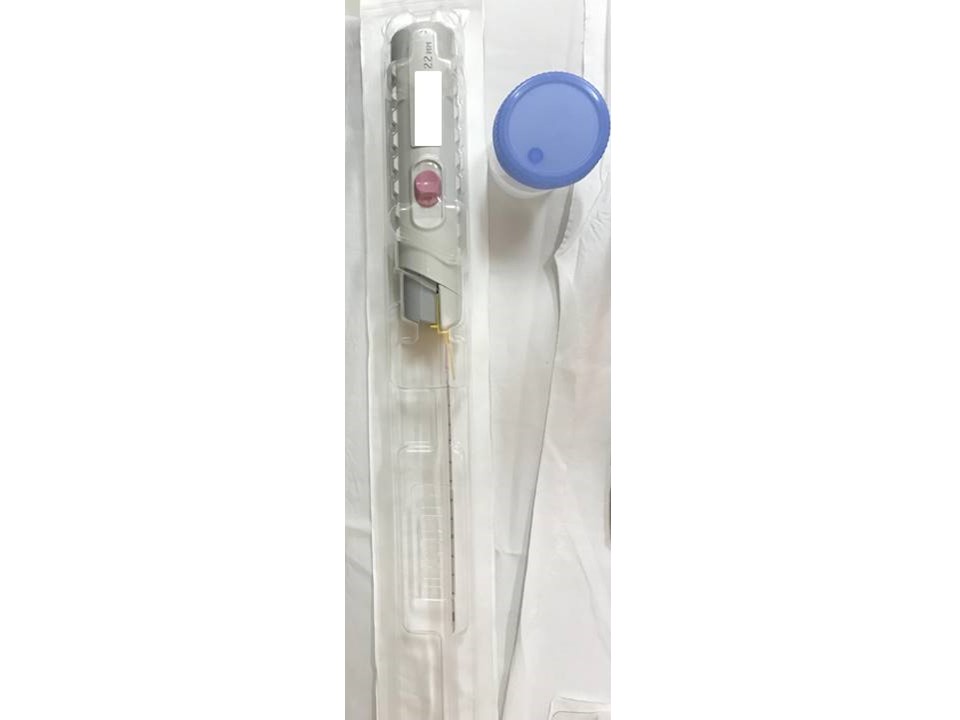
- core biopsy device with 14G or 16G needle 22–25 mm long;
- 5 mL or 10 mL syringe and needle to apply local anaesthetic agent;
- 1% lignocaine injection (5–10 mL) for local anaesthesia;
- stab knife;
- swabs and disinfectant, such as spirit or chlorhexidine;
- sterile gloves;
- a jar or any wide-mouthed, screw-capped bottle with 10% formaldehyde;
- gauze for haemostasis; and
- antiseptic solution (povidone–iodine or alcohol).
- The staff nurse should prepare the patient for the procedure by helping her to undress and change into a procedure gown.
- Review the breast images, confirm the side and location of the lump and expose the breast with the suspicious abnormality.
- Clean the area of the breast with antiseptic solution.
- Clean the ultrasound probe and cover it with a sterile probe cover or glove.
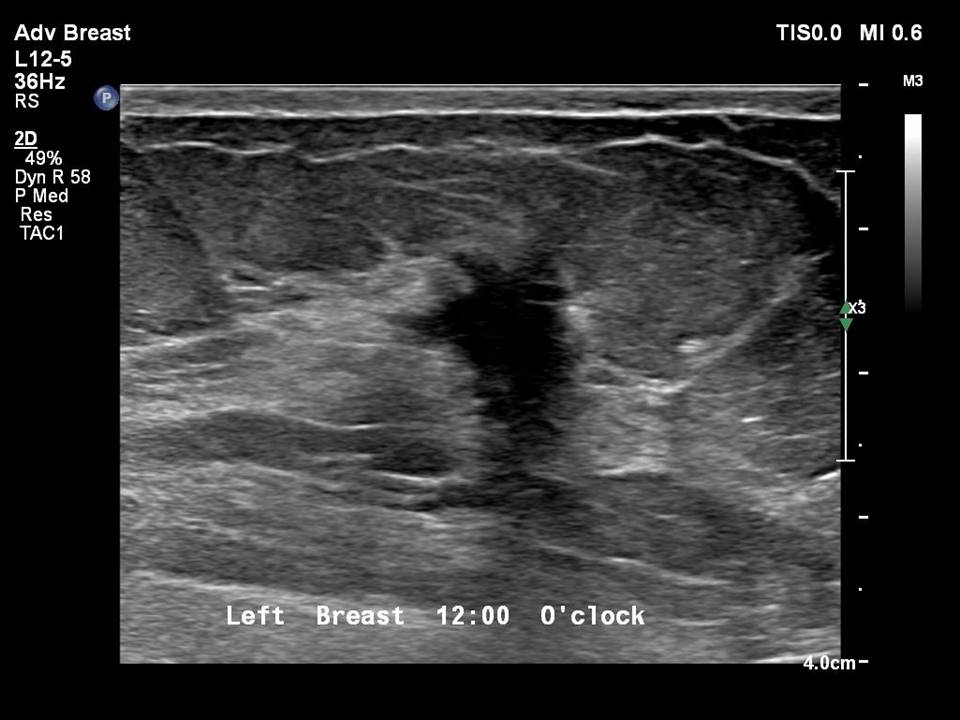
- Perform a check ultrasound to localize the lesion to be biopsied.
- Measure and note down the distance between the lesion and the nipple.
- Position the patient. The position is similar to that described for ultrasound and ultrasound-guided FNAC.
- Position yourself at the side of the ipsilateral breast if the lesion is in the outer quadrant. For a lesion in the inner quadrants position yourself on the right side of the patient or the side contralateral to the lesion.
- Apply antiseptic in a wide area around the lesion.
- Put sterile drapes on the patient, keeping the area to be biopsied exposed.
- Couple the biopsy needle to the core biopsy device. Perform a triggering test and inform the patient that she will hear a clicking sound every time a sample is obtained.
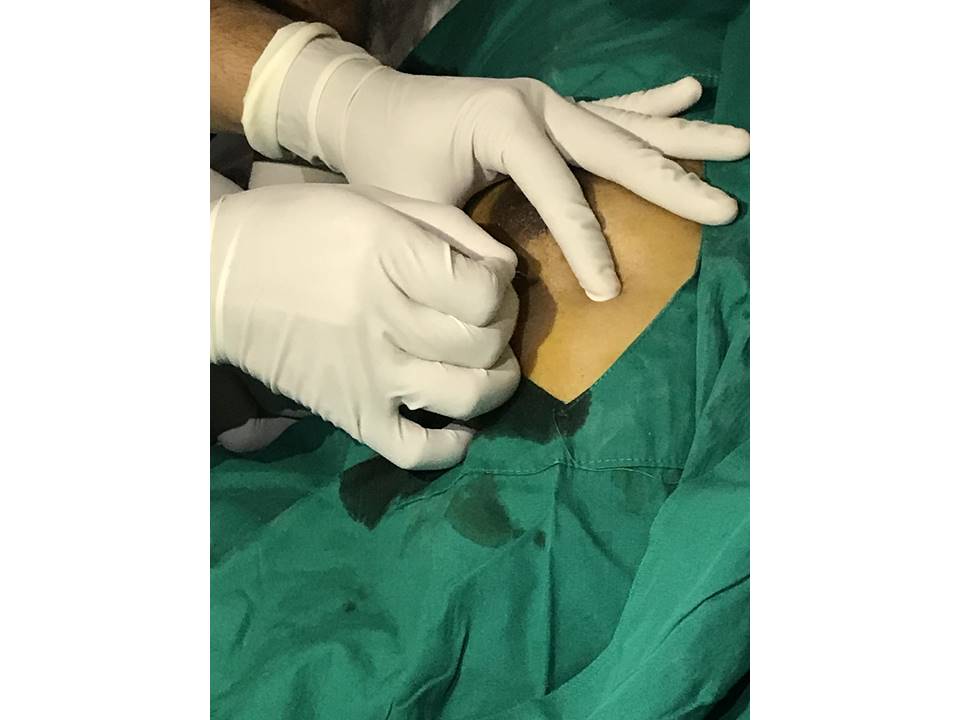
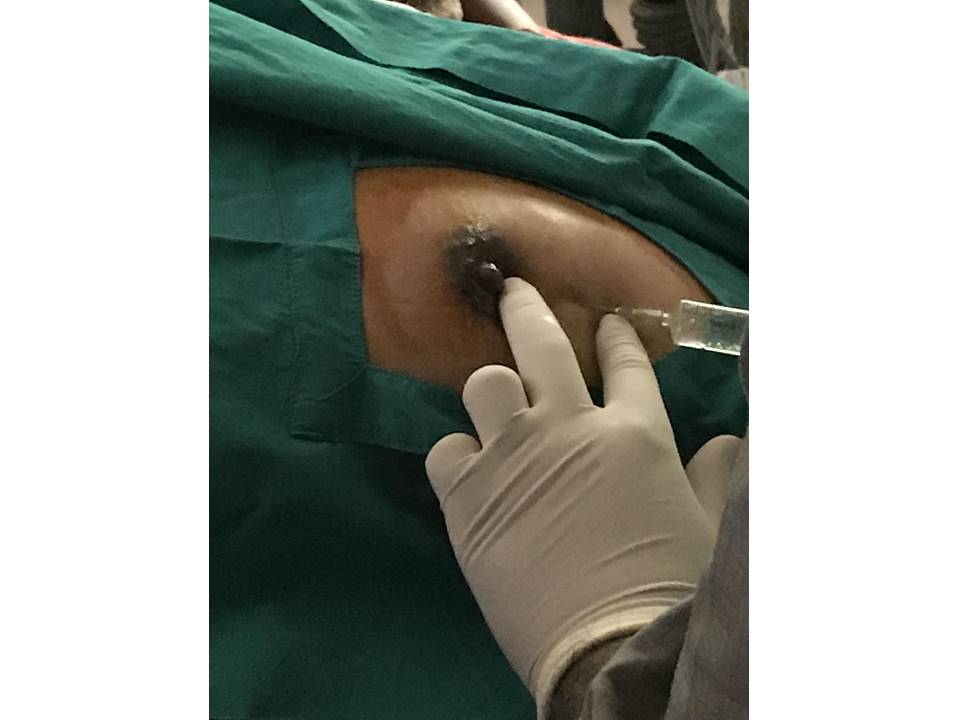
- Inject local anaesthesia at the site of biopsy along the pathway of the needle up to the lesion. Avoid areas through the nipple–areolar complex. The amount of anaesthetic depends on the depth and size of the lesion and the distance from the areola. A lesion close to the areola will need more anaesthetic than one further away. Injection of anaesthetic will also help to move the lesion to a comfortable position (e.g. away from the chest wall), fix it in the surrounding tissues if it is small, and reduce the risk of bleeding or large haematoma formation.
- Make a 2–3 mm incision with a stab knife to create an entry port for the biopsy needle.
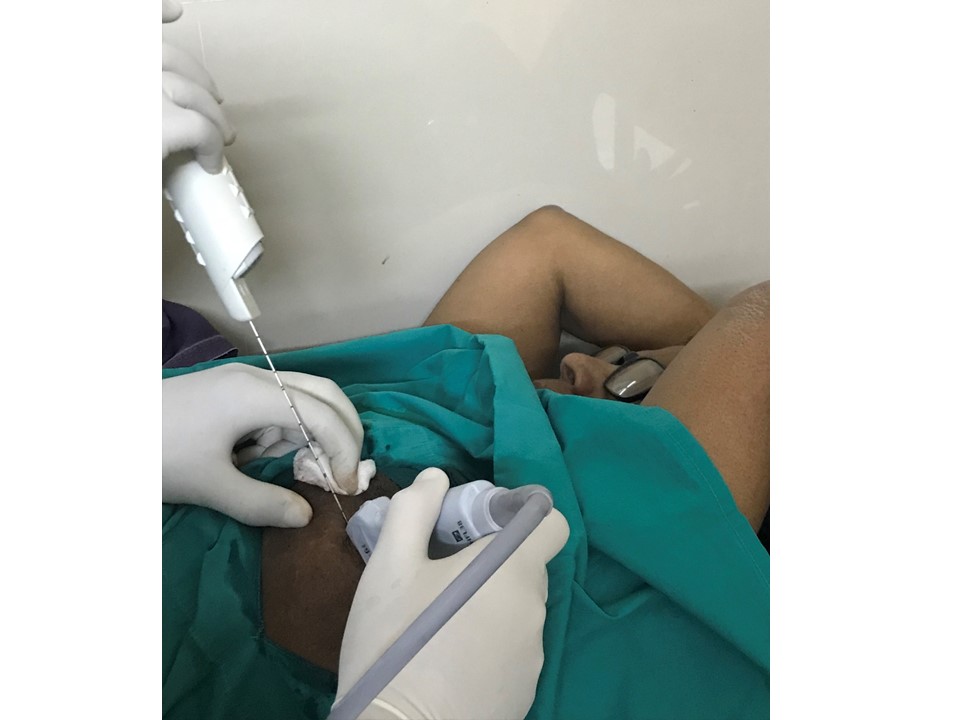
- Position the biopsy needle at the margin of the localized lesion under ultrasound guidance with estimation of throw distance of the needle to reach the centre of the lesion.
- Document the position of the needle in the breast (mark the quadrant and the position of the transducer on the image). Save the images of the biopsy procedure. The first image is with the needle in the breast. The next image is with the needle in the tumour.
- Tell the patient that a sample will be obtained and trigger the device action.
- Slide the transducer cross-sectionally and longitudinally to verify whether the needle has penetrated the lesion and to exclude any injury to the chest wall.
- Retrieve the sample from the needle with a scalpel blade or needle used for anaesthesia.
- Keep compression on the area with a gauze pad to prevent the formation of haematoma.
- Transfer the sample immediately into a labelled jar containing 10% neutral buffered formalin solution for fixation.
- Repeat the procedure to obtain at least five adequate samples from different areas of the lesion.
- Compress the biopsy site for a few minutes and then seal it with a piece of gauze and dressing tape. Sutures are not needed.
- Instruct the patient to remove the dressing tape after 48 hours and to take an analgesic if she experiences post-procedure pain.
For more details about reporting and final assessment categories continue to the next page or explore the case studies.
|
Click on the pictures to magnify and display the legends
Click on this icon to display a case study
25 avenue Tony Garnier CS 90627 69366, LYON CEDEX 07 France - Tel: +33 (0)4 72 73 84 85 © IARC 2024 - Terms of use - Privacy Policy.
|