


Home / Training / Manuals / Atlas of breast cancer early detection / Learning
.png)
Click on the pictures to magnify and display the legends

Click on this icon to display a case study
Atlas of breast cancer early detection
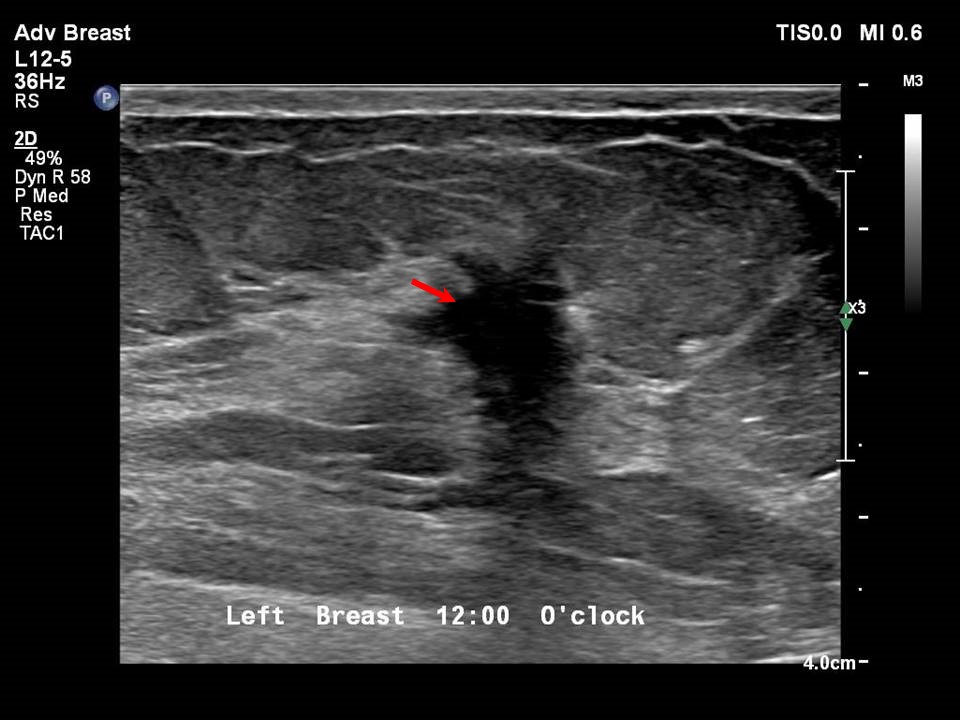
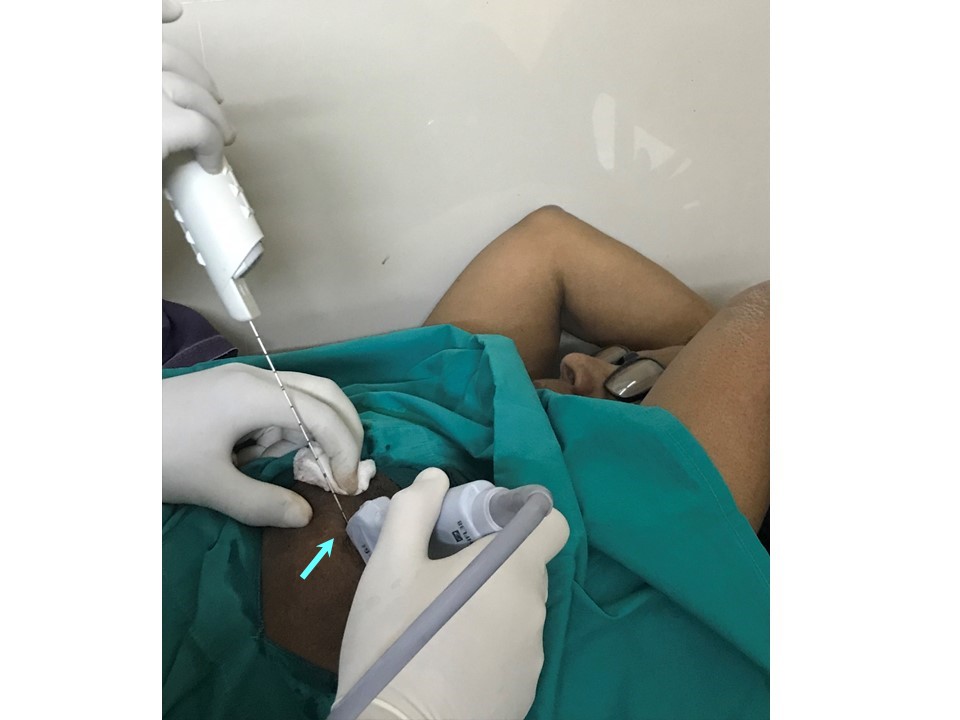
Filter by language: English / РусскийBreast imaging Breast ultrasound Ultrasound-guided interventional procedures Core needle biopsy of the breast |
Indications for core needle biopsy according to the BI-RADS category of images (mammography, ultrasound, or MRI) are:
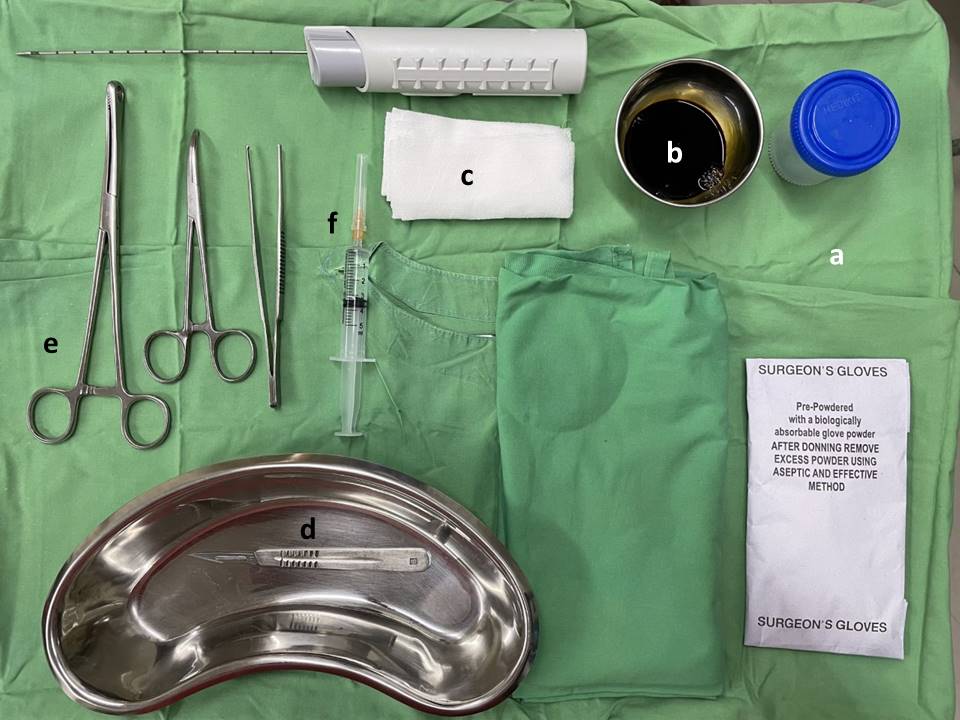
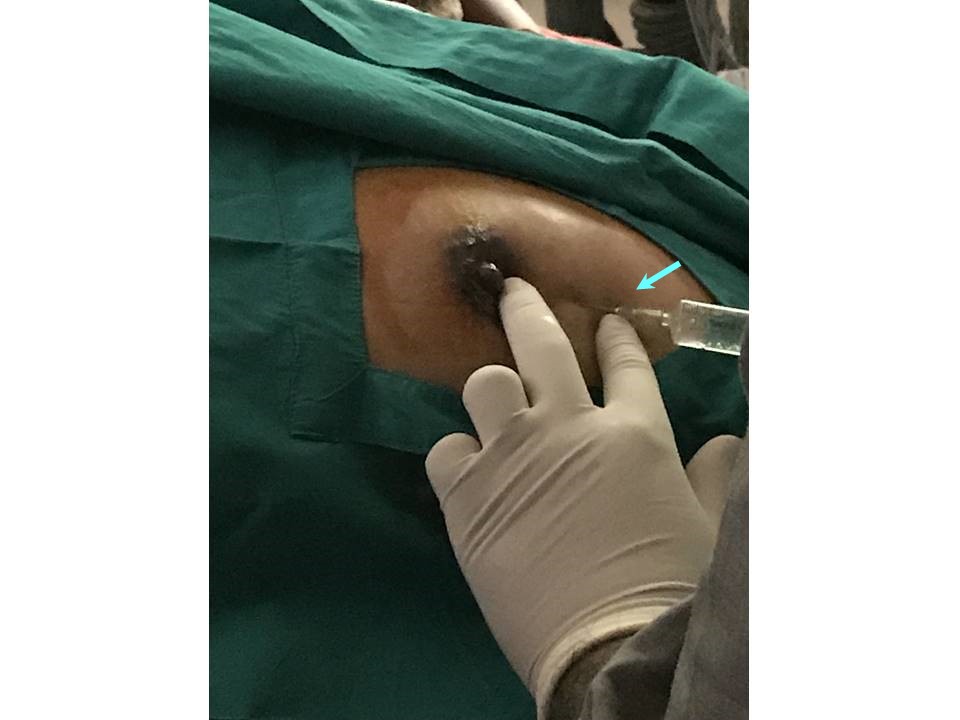
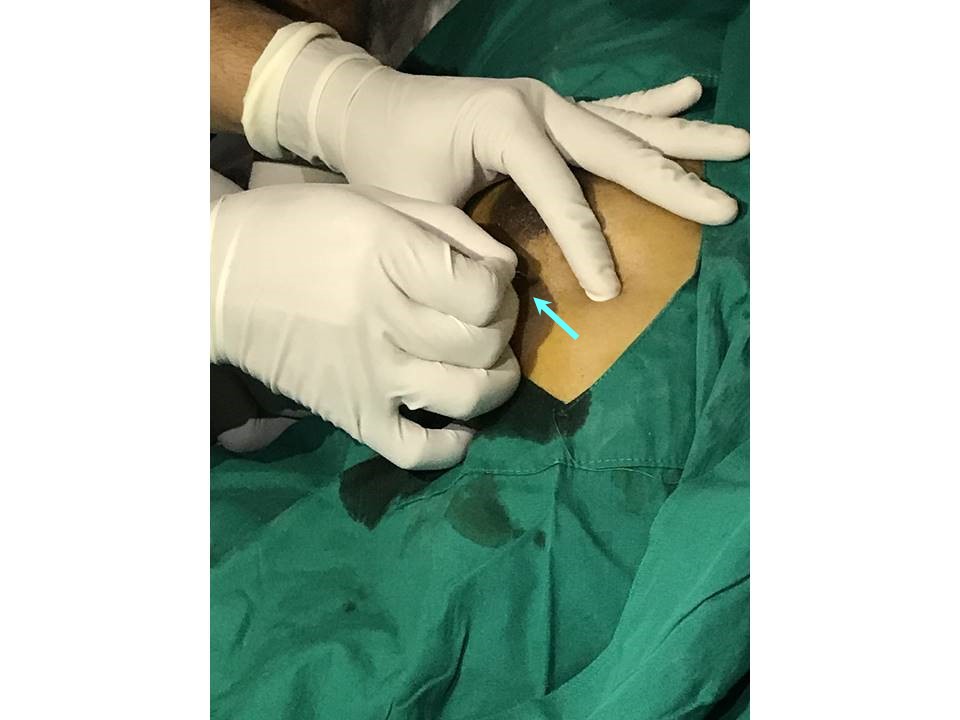
Steps
Click on the following link to view further details about advantages, and disadvantages of core needle biopsy. For more details about reporting and final assessment categories continue to the next page or explore the case studies. |

Click on the pictures to magnify and display the legends
Click on this icon to display a case study
25 avenue Tony Garnier CS 90627 69366, LYON CEDEX 07 France - Tel: +33 (0)4 72 73 84 85
© IARC 2025 - Terms of use - Privacy Policy.
© IARC 2025 - Terms of use - Privacy Policy.