


Chapters
Introduction
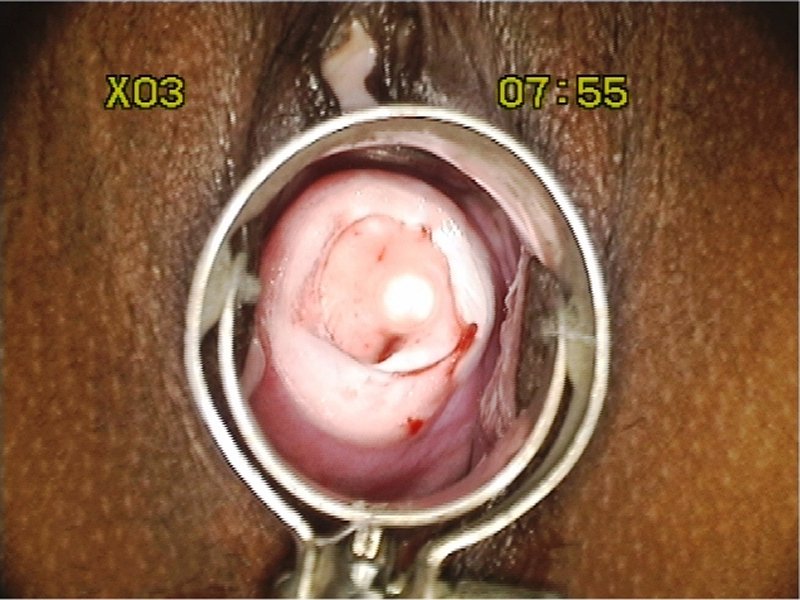
Visual inspection after application of acetic acid (VIA)
Determining eligibility for ablative treatment after application of acetic acid
Anatomical considerations
Cervical epithelium
Physiological changes of cervical epithelium
Neoplastic changes of the cervical epithelium
Changes in the cervical epithelium after application of acetic acid
Instruments, consumables, and setup required for examination after application of acetic acid
VIA procedure
Interpretation of VIA test results
Preventing errors in VIA
Management of women with an abnormal VIA test
Steps to determine eligibility for ablative treatment
Role of Lugols iodine in identifying the transformation zone for treatment
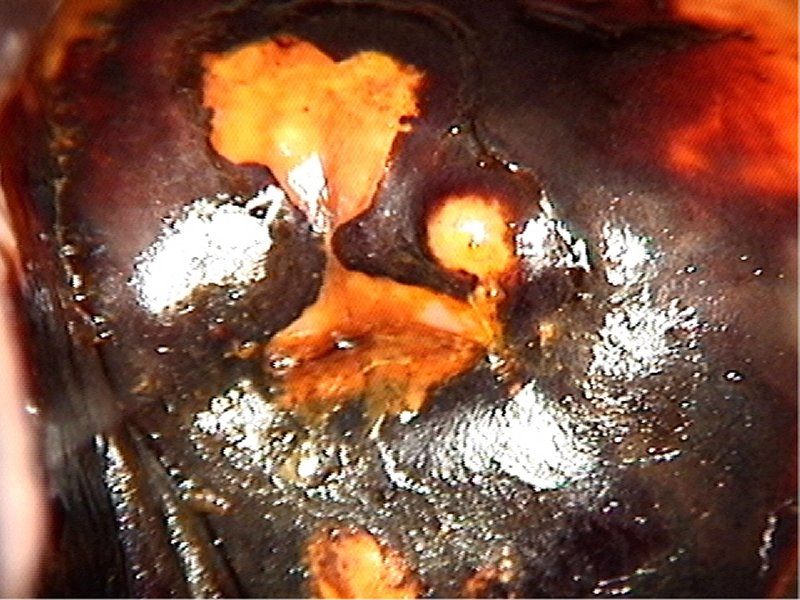
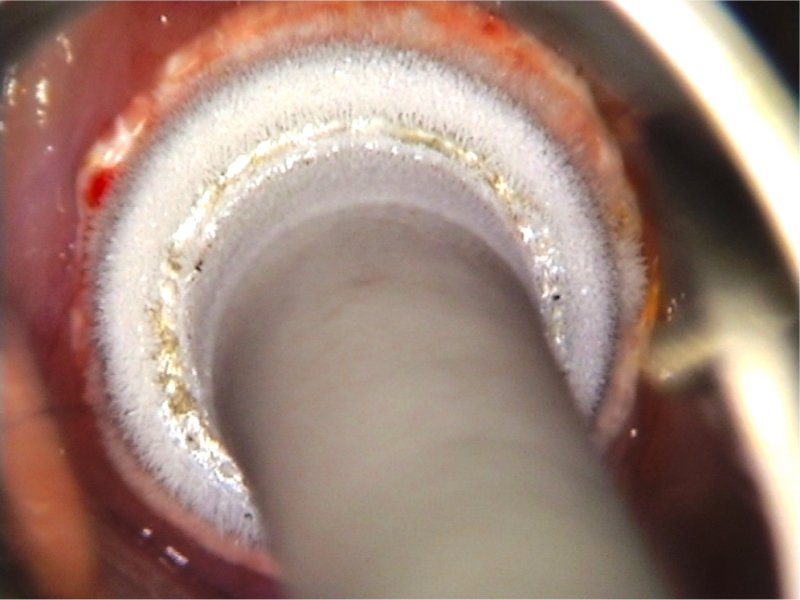
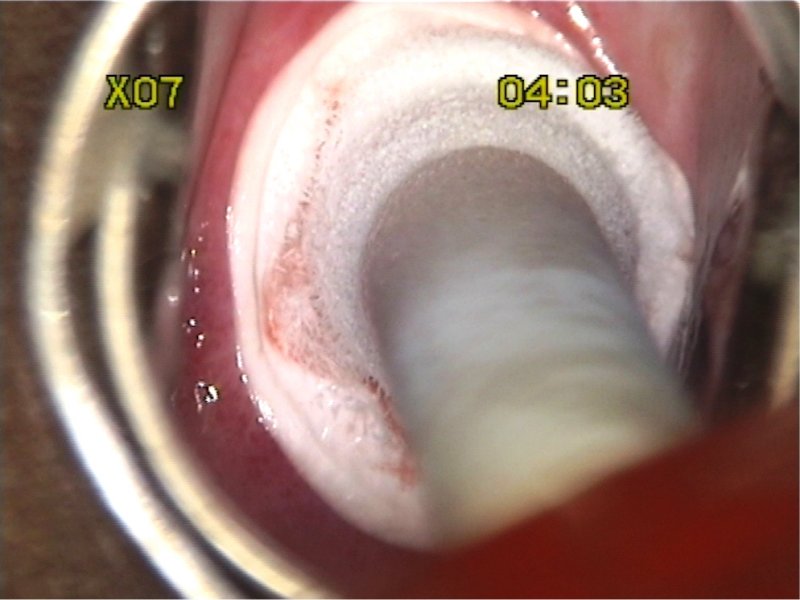
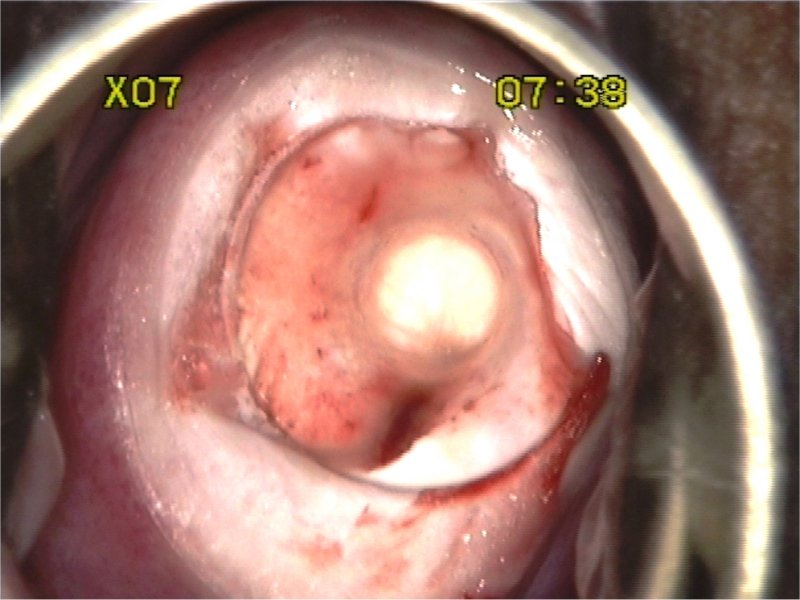
Treatment by cryotherapy
Treatment by thermal ablation
Videos
Preparation of Monsels solution
Infection prevention
Case study
Quiz
Acknowledgement
Suggested citation
Copyright
Home / Training / Manuals / Atlas of visual inspection of the cervix with acetic acid for screening, triage, and assessment for treatment
.png)
Click on the pictures to magnify and display the legends
Atlas of visual inspection of the cervix with acetic acid for screening, triage, and assessment for treatment
Filter by language: English / Français / Español / Русский / українськаTreatment by cryotherapy Steps |
For additional information, please refer to WHO technical specifications: cryosurgical equipment for the treatment of precancerous cervical lesions and prevention of cervical cancer. |
Click on the pictures to magnify and display the legends
IARC, 150 Cours Albert Thomas, 69372 Lyon CEDEX 08, France - Tel: +33 (0)4 72 73 84 85 - Fax: +33 (0)4 72 73 85 75
© IARC 2025 - All Rights Reserved.
© IARC 2025 - All Rights Reserved.