


Learning colposcopy
Colposcopic appearance of normal cervix
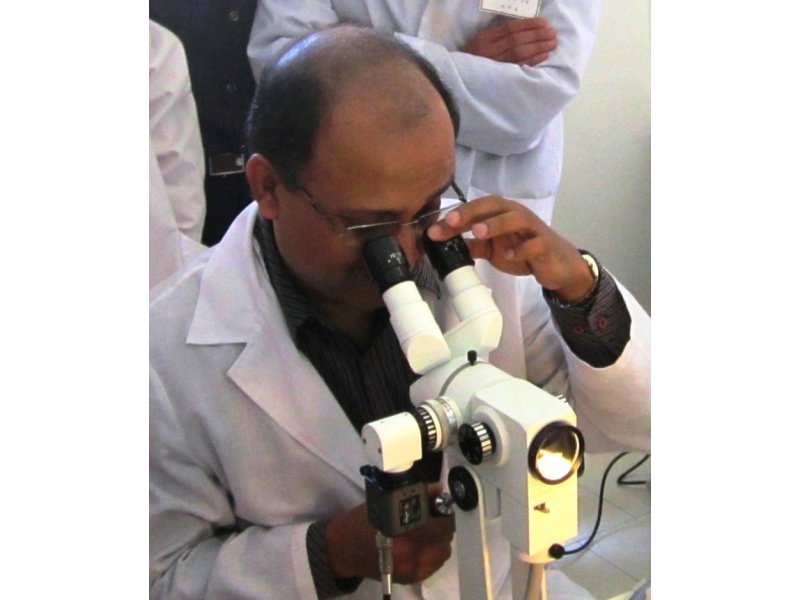
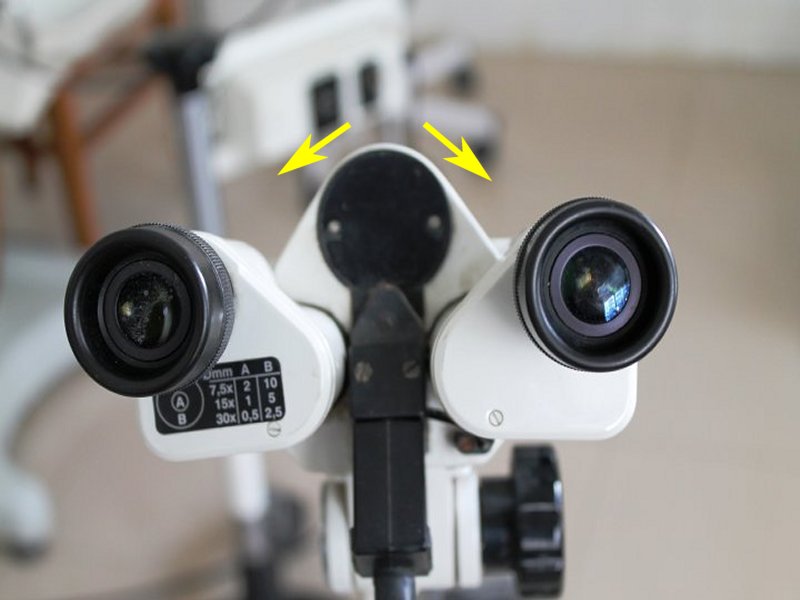
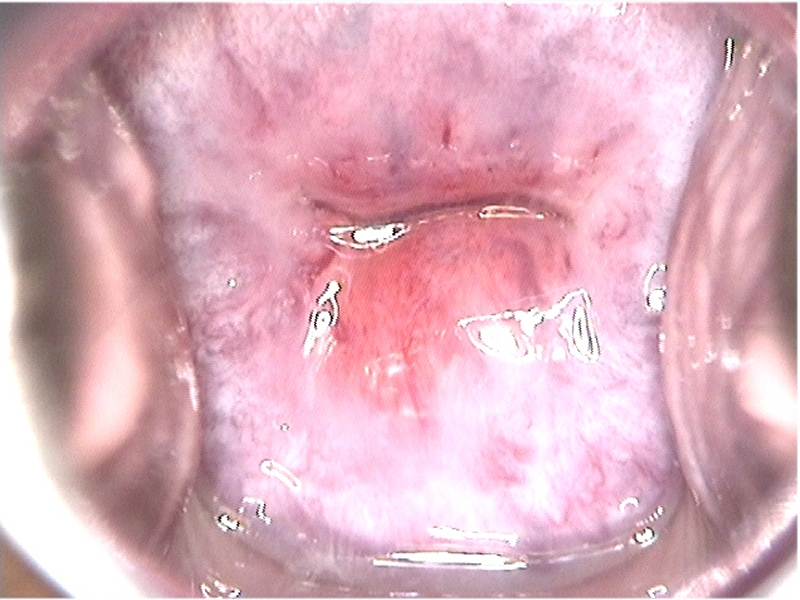
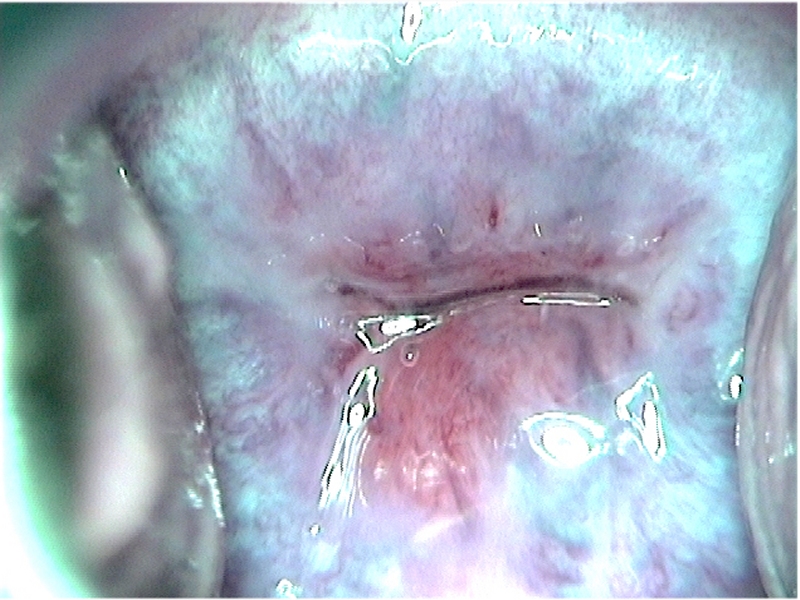
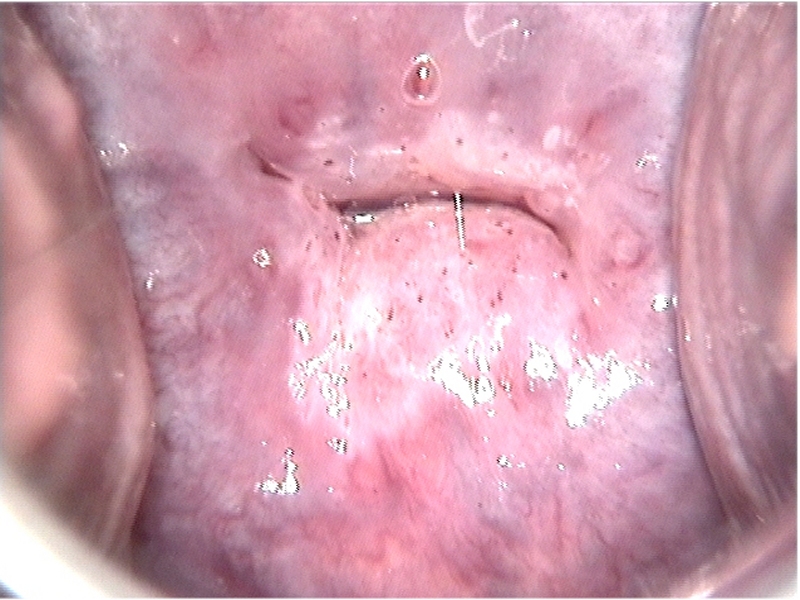
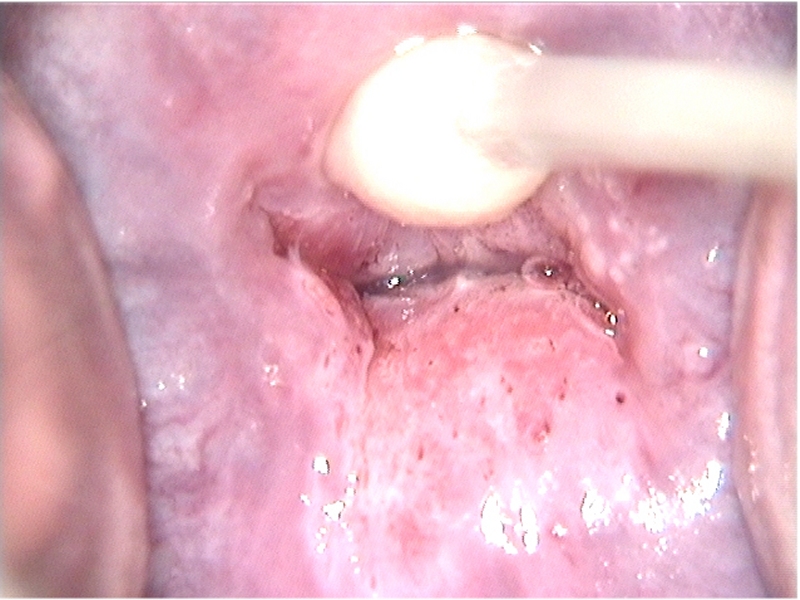
The colposcopic examination
Detection of infections & benign conditions of cervix
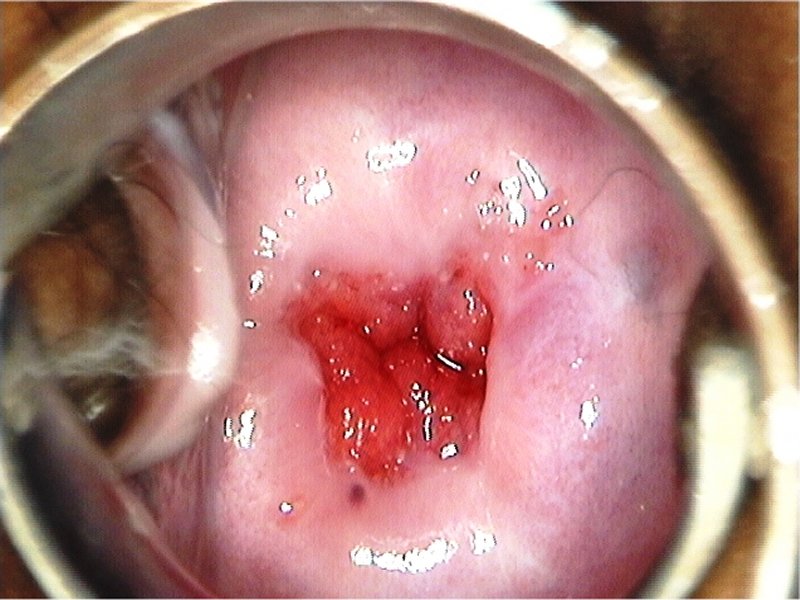
Detection of cervical neoplasias
Treatment of cervical intraepithelial neoplasia
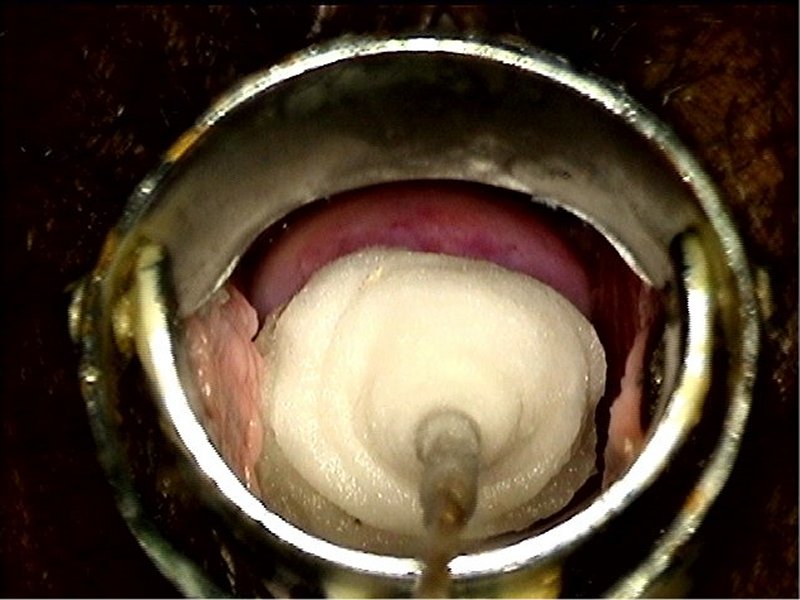
Treatment by cryotherapy
Treatment by thermal ablation
Treatment by LLETZ (LEEP)
Treatment by cold-knife conization (CKC)
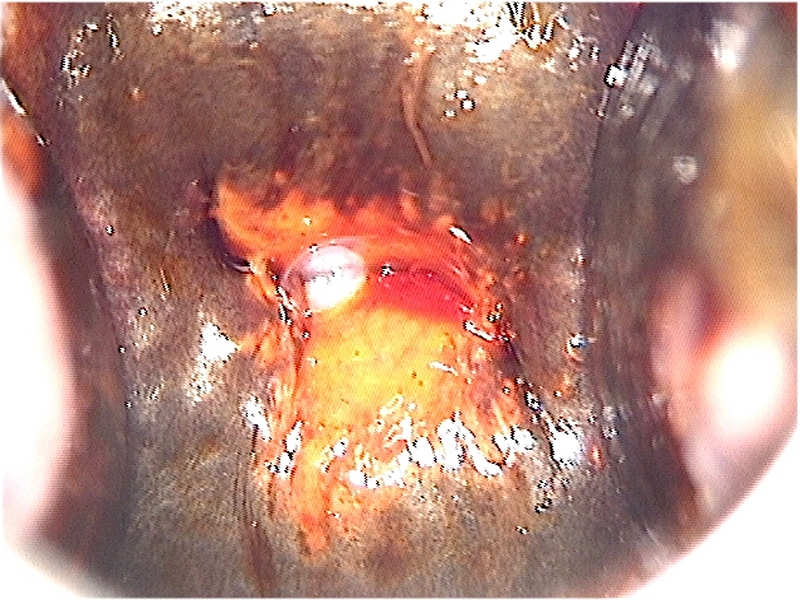
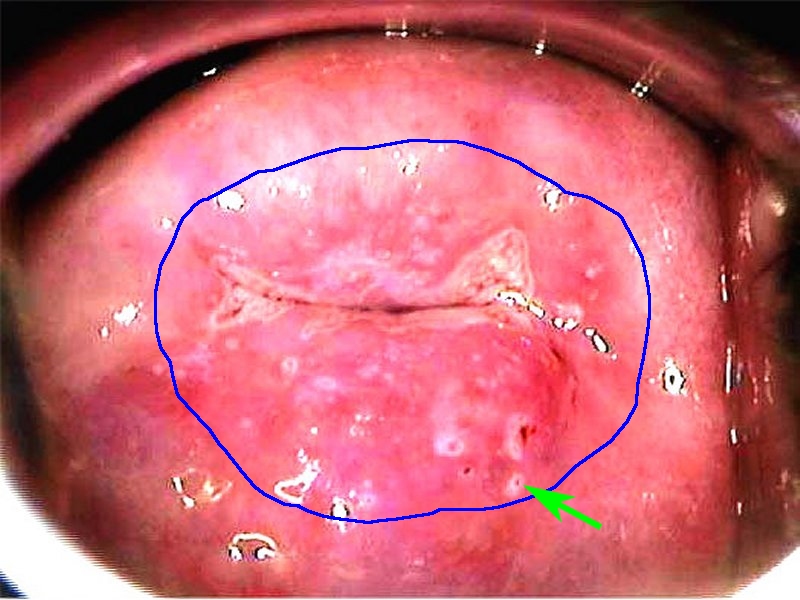
Cases
Normal
Squamous metaplasia and ectropion
Inflammation and cervicitis
Low grade
High grade
Early and advanced cancers
Miscellaneous
Post treatment
Search with IFCPC criteria
Search with Swede score criteria
Quiz Foreword
Acknowledgement
Authors
Suggested citation
Home
Atlas of Colposcopy: Principles and Practice
Filter by language: English / 中文 / Français / Español / Português / Русский| Steps of a colposcopic examination |
Colposcopy procedure: Steps of colposcopic examination |


25 avenue Tony Garnier CS 90627 69366, LYON CEDEX 07 France - Tel: +33 (0)4 72 73 84 85
© IARC 2025 - Terms of use - Privacy Policy.
© IARC 2025 - Terms of use - Privacy Policy.