


Introduction
Different approaches to screening and treatment of cervical precancer
Anatomical considerations
Physiological changes of the cervical epithelium
Neoplastic changes of the cervical epithelium
HPV tests Variation between tests
Instruments, consumables, and setup required
Procedure to collect samples for HPV testing
Interpretation of HPV test results
Management of women with a positive HPV test result
Treatment of cervical intraepithelial neoplasia principles
Steps to determine eligibility for ablative treatment
Role of Lugols iodine in identifying the transformation zone for treatment
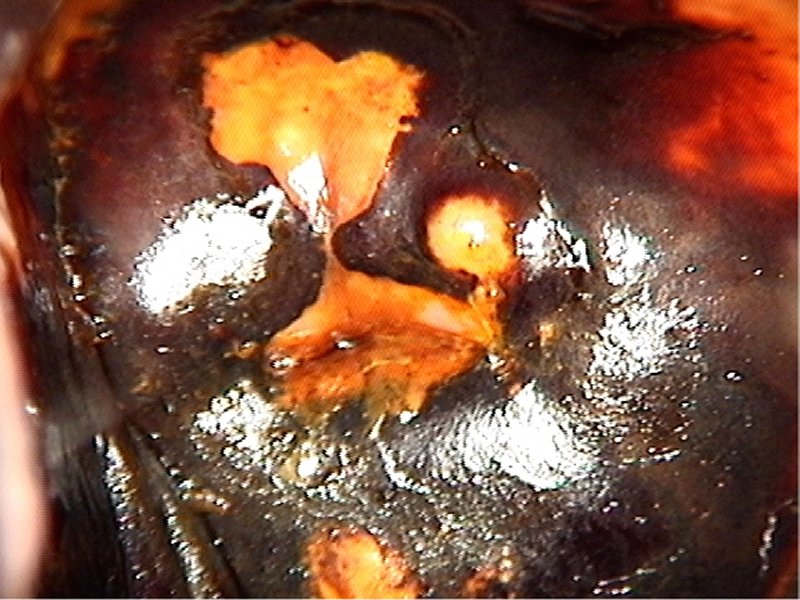
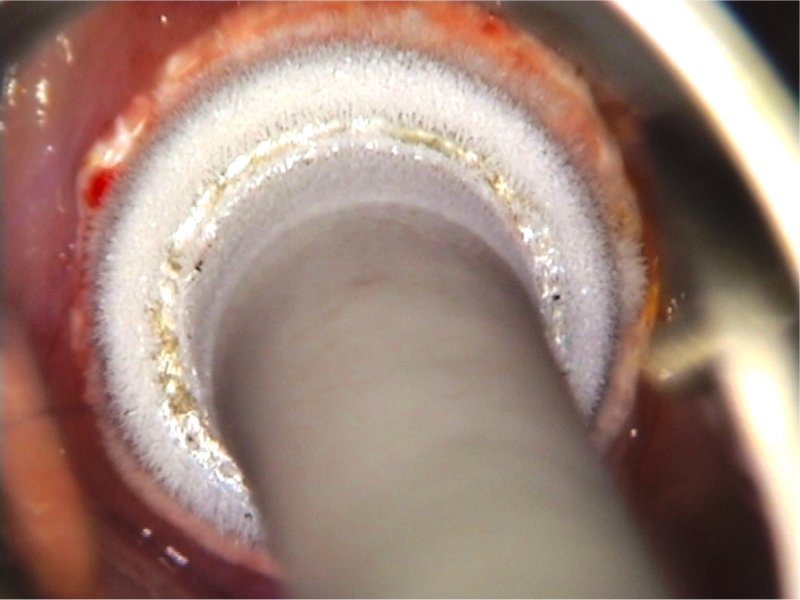
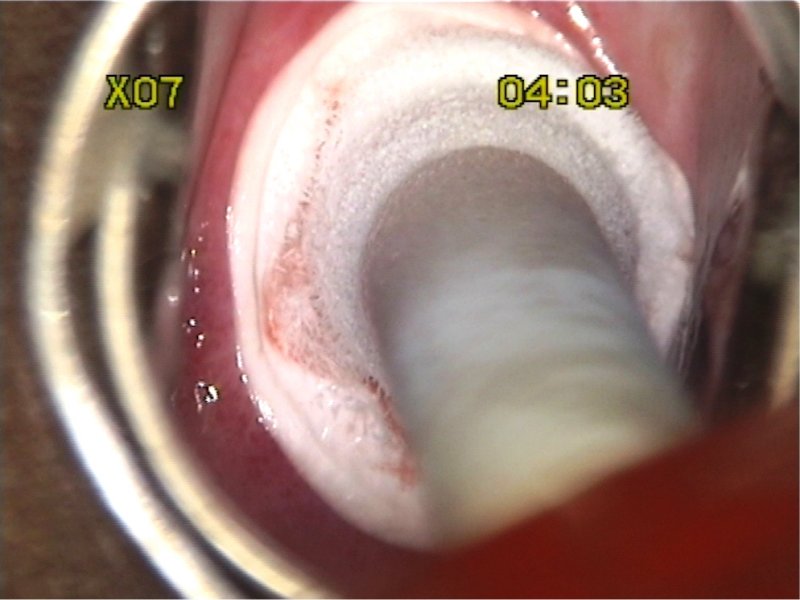
Treatment by cryotherapy
Treatment by thermal ablation
Using an HPV test as the test of cure in women treated for cervical abnormalities or cervical intraepithelial neoplasia (CIN)
Infection prevention
Case studies
VIA triage outcome (applicable in screen-and-treat setting only) negative cases
VIA triage outcome positive cases
VIA triage outcome suspicious of cancer cases
Foreword
Acknowledgement
Authors
Suggested citation
Copyright
Home / Training / Manuals / Using HPV tests for cervical cancer screening and managing HPV-positive women a practical online guide / Learning
Using HPV tests for cervical cancer screening and managing HPV-positive women a practical online guide
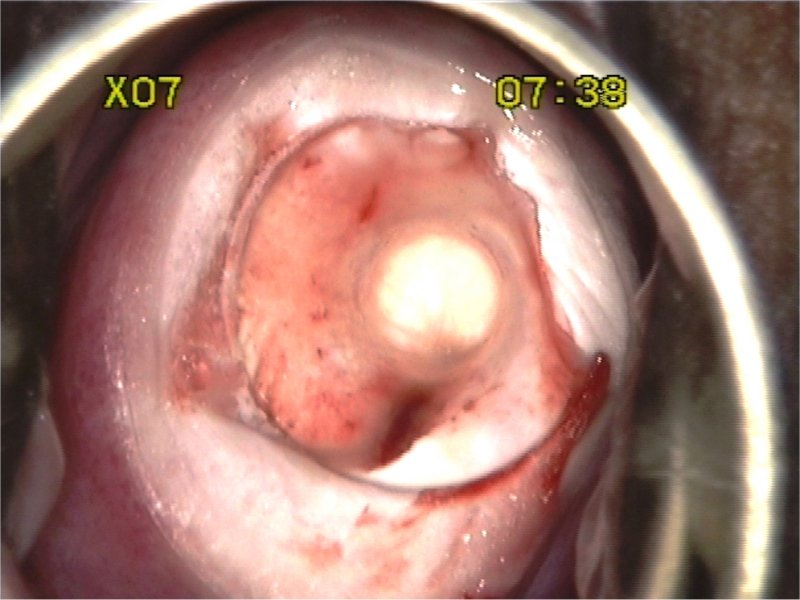
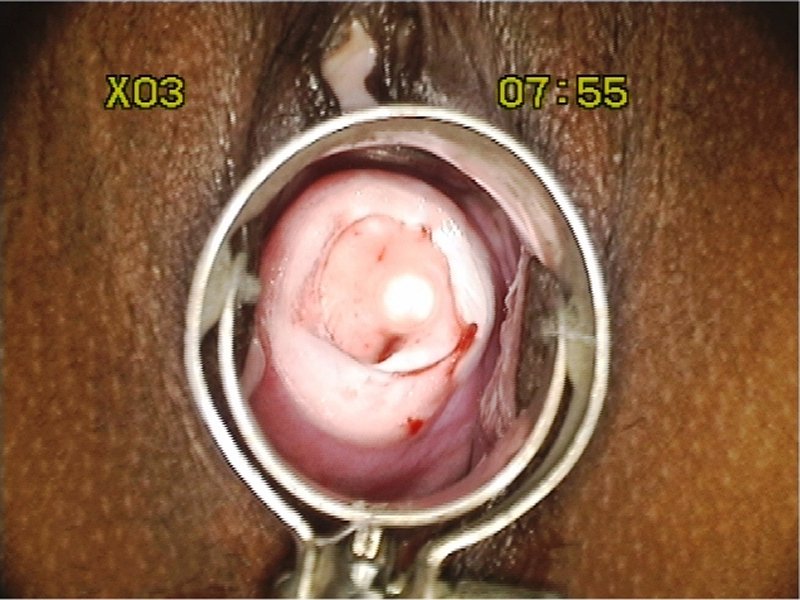
Filter by language: English / Français / EspañolTreatment by cryotherapy Steps | Click on the pictures to magnify and display the legends |
For additional information, please refer to WHO technical specifications: cryosurgical equipment for the treatment of precancerous cervical lesions and prevention of cervical cancer. |
IARC, 150 Cours Albert Thomas, 69372 Lyon CEDEX 08, France - Tel: +33 (0)4 72 73 84 85 - Fax: +33 (0)4 72 73 85 75
© IARC 2025 - All Rights Reserved.
© IARC 2025 - All Rights Reserved.